A blackberry patch is a long-term tenant. Plant it well and it will crop from the same spot for a decade or more. Plant it badly and you will spend years fighting wet roots, tangled canes, and small, seedy fruit. Blackberry roots run deeper than most people expect, the canes can stretch eight feet in a single season, and the plants spread by suckers. That is a lot to ask of an ordinary garden border. A raised bed built around those habits — deep, narrow enough to reach into, and fitted with a trellis from day one — solves most of the trouble before the first cane appears.
Blackberries are unfussy about many things, but they hate heavy, wet soil. Their crowns rot in winter waterlogging faster than almost any other soft fruit, and standing water in spring is the most common reason a new planting fails outright. A raised bed lifts the root zone above the water table and warms earlier in the year, so growth starts sooner and the plants establish before summer heat arrives.
You also get to choose the soil. Blackberries prefer a slightly acidic loam, somewhere around pH 6.0 to 6.5, that drains freely but holds moisture through August. Rebuilding a clay border to that specification takes years of digging and amending. Filling a raised bed with a good mix takes an afternoon and a wheelbarrow.
The smaller benefits add up too. Keeping canes off the ground keeps berries clean and makes picking far less painful with thorny types. A defined bed edge shows you exactly where to run the mower, and it corrals the suckers that would otherwise creep into the lawn.
Choose the sunniest spot available — six hours of direct light at minimum, eight or more is better. Avoid low ground where cold air pools in spring, because a late frost on open blossoms can wipe out a whole crop. If your only option gets some late-afternoon shade, blackberries will still manage in a warm climate, just with a slightly later and lighter harvest.
Depth matters more than most beginners expect. Twelve inches is the practical minimum; sixteen to eighteen is better, since blackberry roots descend well past a foot. Keep the width at four feet or less so you can reach the middle without stepping into the bed — three feet if you will pick from one side only. Leave a three-foot path on the working side. You will want the room when the canes are loaded.
Spacing depends on the type. Erect varieties stand more or less upright and can go three to four feet apart. Semi-erect and trailing thornless types sprawl and want six to eight feet each. For a four-by-eight bed, three erect plants or two trailing ones is about right.
A four-by-eight bed filled to twelve inches takes roughly a cubic yard of soil mix. Order it in bulk if you can; bagged soil gets expensive fast at that volume.
Untreated boards will rot in time, though cedar and other rot-resistant species last considerably longer. If you are unsure what your supplier stocks, ask before you buy, and avoid older CCA-treated timber. Most modern pressure-treated lumber is widely used for food crops, but if you would rather not use it, line the inside walls with heavy plastic or pay the premium for cedar.
It is far easier to set trellis posts into an empty bed than to wrestle them past established roots later. Sink two 8-foot posts at the ends, about two feet deep, leaving six feet above ground. Run wires between them at roughly 30 and 60 inches, with an eye screw and turnbuckle at one end so you can tighten the run each spring.
Semi-erect thornless types crop better on a T-trellis, where cross arms 18 to 24 inches wide carry the wires out from the center and let more light into the canopy. Tie canes in with soft twine using a figure-eight loop so the wire never rubs or girdles the stem. Check the ties after windy weather; a cane whipping loose can snap at the base.
Plant dormant stock in late winter or early spring, or in autumn where winters are mild. Set the crown an inch or two below the soil surface — no deeper, or you risk smothering it — and spread the roots out rather than cramming them into a narrow hole. Water thoroughly, then mulch two to three inches deep with straw or wood chips, keeping the mulch a few inches clear of the canes.
Give new plants about an inch of water a week through the first summer. Go easy on nitrogen fertilizer that first year; rich, soft growth is weak growth, and it makes canes that snap instead of fruit. A light top-dressing of compost in early spring is usually enough.
Spend one extra hour on the trellis now and you will spend far less time untangling canes for the next ten years.
Train new canes to the wires as they grow — gentle tucking while they are still flexible, not brute force in August. With erect varieties, pinch the tips at three to four feet to encourage branching and heavier fruiting. Thin to four to six strong canes per plant, cutting the rest at ground level.
Blackberries fruit on second-year canes, called floricanes, which die after harvest. Cut those to the ground in late summer and tie in the new primocanes that will crop next year. Some newer varieties fruit on first-year canes in late summer instead, so pruning works differently — check the tag that came with your plant before you cut anything.
Once established, the routine is simple: refresh mulch in spring, top-dress with compost, prune out spent canes, and keep an eye on drainage after heavy rain. If water sits in the bed for more than a day, add more organic matter or raise the sides. After eight to ten years, production often slips as the crowns age and disease builds up; at that point, replant a section at a time and start the cycle again with fresh, certified stock. Get the bed right at the start and the rest is mostly maintenance.
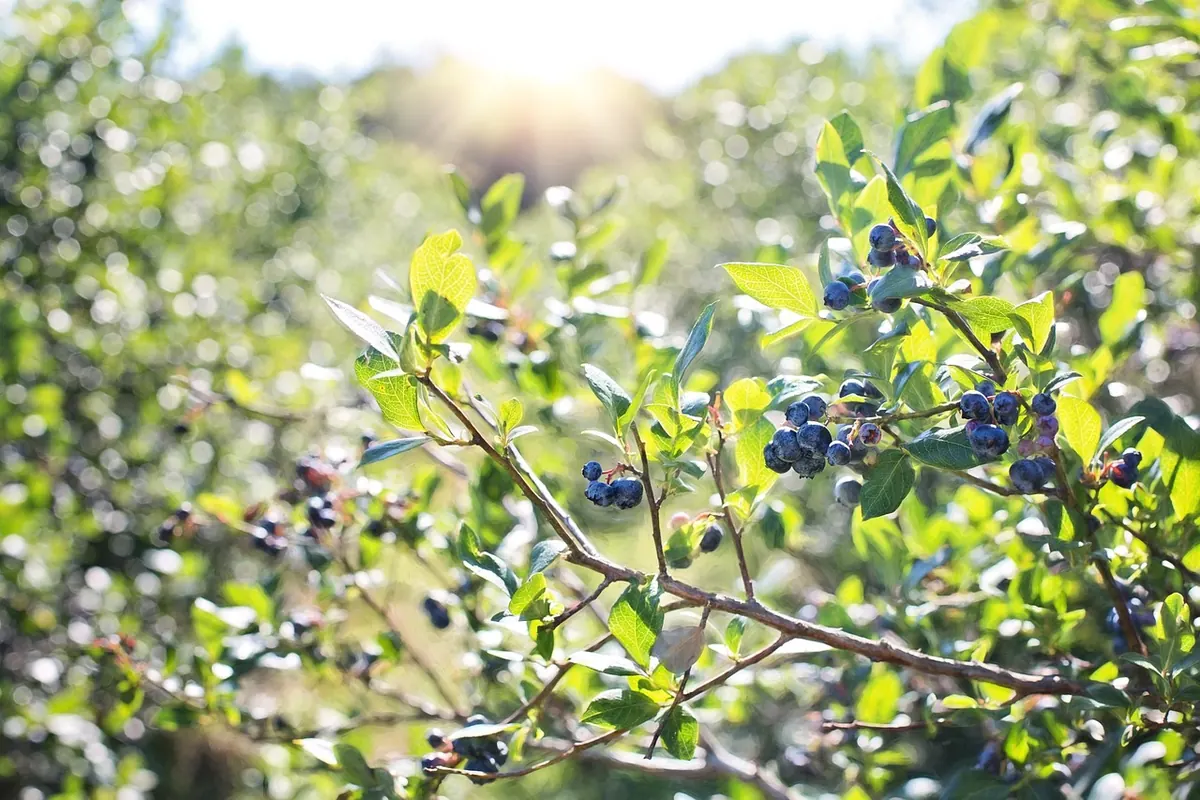
Photo: silviarita / Pixabay